

Hang wallpaper like a pro!!
Nicki • January 3, 2025


Hanging wallpaper can transform a room from plain to spectacular, adding texture, colour, and personality to your space. While it may seem daunting at first, with the right tools and techniques, you can achieve professional-looking results. Here’s a step-by-step guide to help you successfully hang wallpaper in your home.
1. Gather Your Materials
Before you begin, ensure you have all the necessary materials on hand:
Wallpaper of your choice
Wallpaper paste or adhesive (if not pre-pasted)
A sharp utility knife or wallpaper cutter
A straight edge or ruler
A level
A brush or roller for applying paste
A wallpaper smoother or a brush for smoothing out air bubbles
A sponge and bucket of water for cleaning up excess paste
A measuring tape
2. Prepare the Walls
Properly preparing your walls is crucial for a successful wallpapering job. Start by removing any old wallpaper, and then wash the walls with a mild detergent to eliminate dirt and grease. Fill in any holes or cracks with filler and sand the area smooth. If your walls are particularly porous, consider priming them with a wallpaper primer to create a smooth surface for the wallpaper to adhere to.
3. Measure and Cut Your Wallpaper
Measure the height of your wall from the floor to the ceiling. Add a few extra inches to allow for trimming and aligning. Using your measuring tape, mark the wallpaper, then cut the lengths. It’s often a good idea to cut an extra piece in case of errors.
4. Mark a Vertical Line
Using a level, draw a vertical line on the wall where you want to start hanging the first strip of wallpaper. This will serve as your guide and ensure that your wallpaper hangs straight.
5. Apply Paste
If your wallpaper is not pre-pasted, apply wallpaper paste to the back of the first strip using a brush or roller. Be sure to cover the edges thoroughly for a secure bond. If using pre-pasted wallpaper, follow the manufacturer's instructions for activating the adhesive.
6. Hang the Wallpaper
Carefully lift the strip of wallpaper and align it with the vertical line you've drawn. Press it against the wall starting from the top and smoothing it downwards. Use your wallpaper smoother or brush to eliminate air bubbles and ensure good adhesion. Work from the centre out towards the edges to avoid trapping air.
7. Trim the Excess
Once the strip is in place, use your utility knife to carefully trim any excess plaster at the top and bottom of the strip. A straight edge or ruler can help guide your cuts to ensure a clean finish.
8. Continue with Additional Strips
Repeat the process with the next strip, ensuring to match the pattern with the first strip. For patterned wallpaper, be particularly diligent about matching the design for a seamless look. Continue until the wall is fully covered.
9. Clean Up
After all the wallpaper is hung, clean up any excess paste that may have squeezed out during application with a damp sponge. Be careful not to soak the wallpaper; just gently wipe it away.
10. Allow to Dry
Allow the wallpaper to dry completely according to the manufacturer's instructions, usually for at least 24 hours. Avoid heavy cleaning or applying pressure to the wallpaper until it is fully set.
Hanging wallpaper may take some time and patience, but the results can be stunning. By following these steps and paying attention to detail, you can achieve beautiful, professional-looking walls in your home. With the right materials and a bit of practice, wallpapering can become a rewarding DIY project that dramatically enhances your living space. Happy decorating!
When it comes to decorating your home, colour is one of the most powerful tools at your disposal. The colours you choose can profoundly affect the mood and ambience of your living spaces, influencing how you feel in each room.
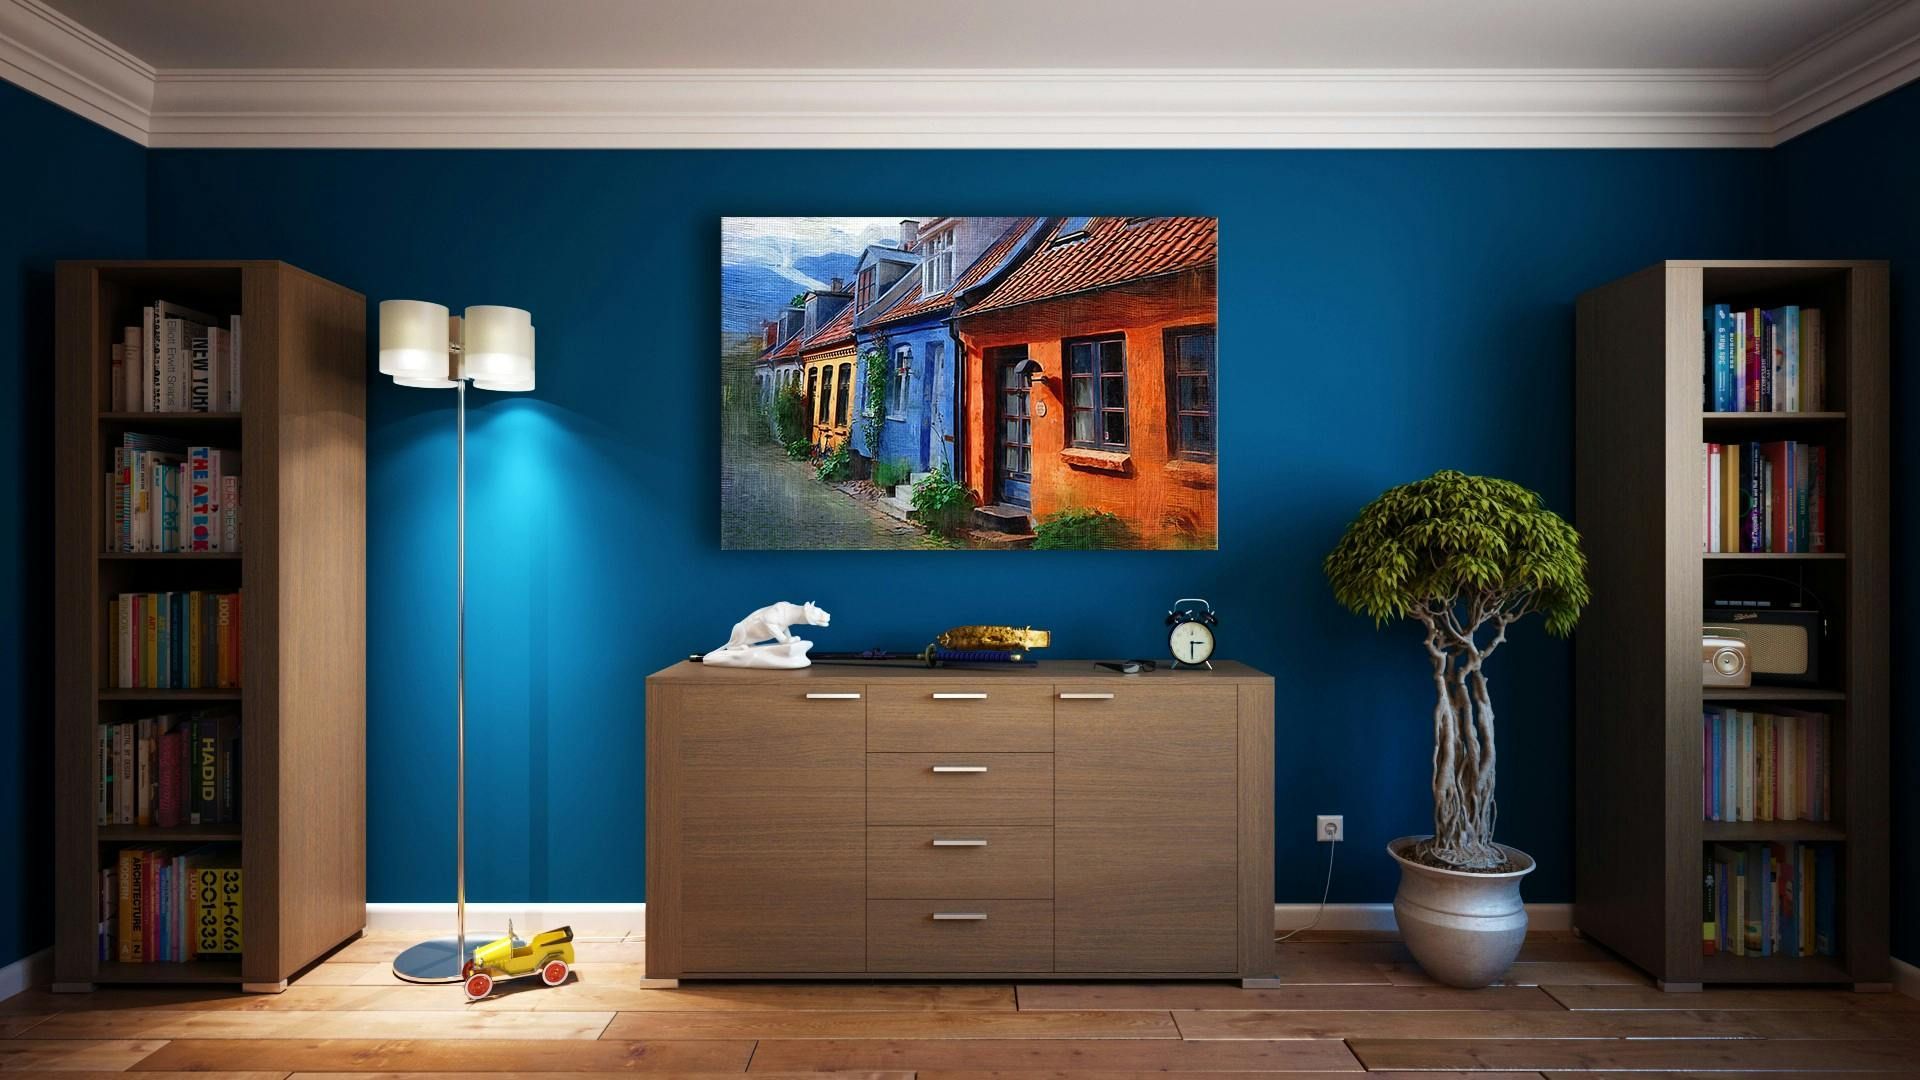
Lighting plays a crucial role in setting the mood and functionality of any room. When selecting the right lamp, it’s important to consider various factors that will not only enhance the aesthetics of your space but also meet your practical needs. Here’s a comprehensive guide to help you choose the perfect lamp for your room. 1. Assess Your Lighting Needs Before you start shopping, consider what you want to achieve with your lamp. Are you looking for task lighting to illuminate a workspace, ambient lighting to create a warm atmosphere, or accent lighting to highlight specific features in your room? Understanding your lighting requirements will help narrow down your options. 2. Determine the Style of Your Room The lamp you choose should complement the existing décor of your room. Consider the overall style—whether it’s modern, traditional, eclectic, or minimalist—and select a lamp that fits. A sleek, contemporary lamp can enhance a modern setting, while a vintage or ornate lamp may suit a more traditional space. Pay attention to colours and materials as well; for instance, a brass lamp can add a touch of elegance to a classic room, while a bold, coloured lamp can serve as a statement piece in a contemporary setting. 3. Consider Size and Scale The size of the lamp is crucial for ensuring it fits well within the room. A large lamp may overwhelm a small space, while a tiny lamp might get lost in a large room. As a general rule, the height of a table lamp should be about 145 to 165 cm from the floor to the bottom of the shade when placed on a side table. For floor lamps, choose a height that complements your furniture. Remember, proportion is key to achieving harmony in your décor. 4. Choose the Right Shade The lampshade is not only a vital element of design but also affects the quality of light emitted. Shades come in various materials, colours, and shapes. A translucent shade can create a soft, diffused glow, while an opaque shade will provide more focused light. Consider the ambience you wish to create and how different shades can influence the room’s overall mood. 5. Matching Lamp Types to Activities Different activities require different lighting solutions. For reading or working, select lamps with adjustable brightness or directed light, such as a swing-arm floor lamp. For general lighting, consider using a lamp with a wider shade that distributes light evenly, providing a warm and inviting glow. Ensure that your chosen lamp suits its intended use. 6. Consider Bulb Options The type of light bulb you use can dramatically affect the ambience of your room. LED bulbs are energy-efficient and long-lasting, while incandescent bulbs provide a warm, traditional glow. Consider dimmable bulbs for added flexibility; they allow you to adjust the brightness based on the time of day and the mood you want to create. 7. Placement Matters Finally, think about where you will place your lamp. Each room has specific requirements for lighting placement. For instance, bedside lamps should be easily accessible and within reach for convenience, while floor lamps can be strategically placed to illuminate darker corners. Aim for symmetry in your arrangements for a balanced look, and ensure that the lamp doesn’t obstruct pathways or furniture. Conclusion Choosing the right lamp for your room is a thoughtful process that takes into consideration your lighting needs, style preferences, and the practical use of space. By assessing these factors, you can select a lamp that not only enhances your interior décor but also creates a comfortable and inviting atmosphere. Whether you’re revamping a single room or decorating your entire home, remember that the right lighting can make all the difference. Happy decorating!
The living room is often considered the heart of the home—a space for relaxation, entertainment, and gathering with loved ones. Choosing the right colour scheme for this important room can set the mood and create a welcoming environment. With so many options available, it can be overwhelming to decide on the perfect palette. Here’s a step-by-step guide to help you choose the ideal colour scheme for your living room.