How to prepare walls ready to paint

Tom • December 12, 2024
Decorating_Corsham

Preparing Walls for Painting: A Step-by-Step Guid

Painting your walls can dramatically transform the look of a room, but before you pick up your brush or roller, it’s essential to take the time to prepare your walls properly. 

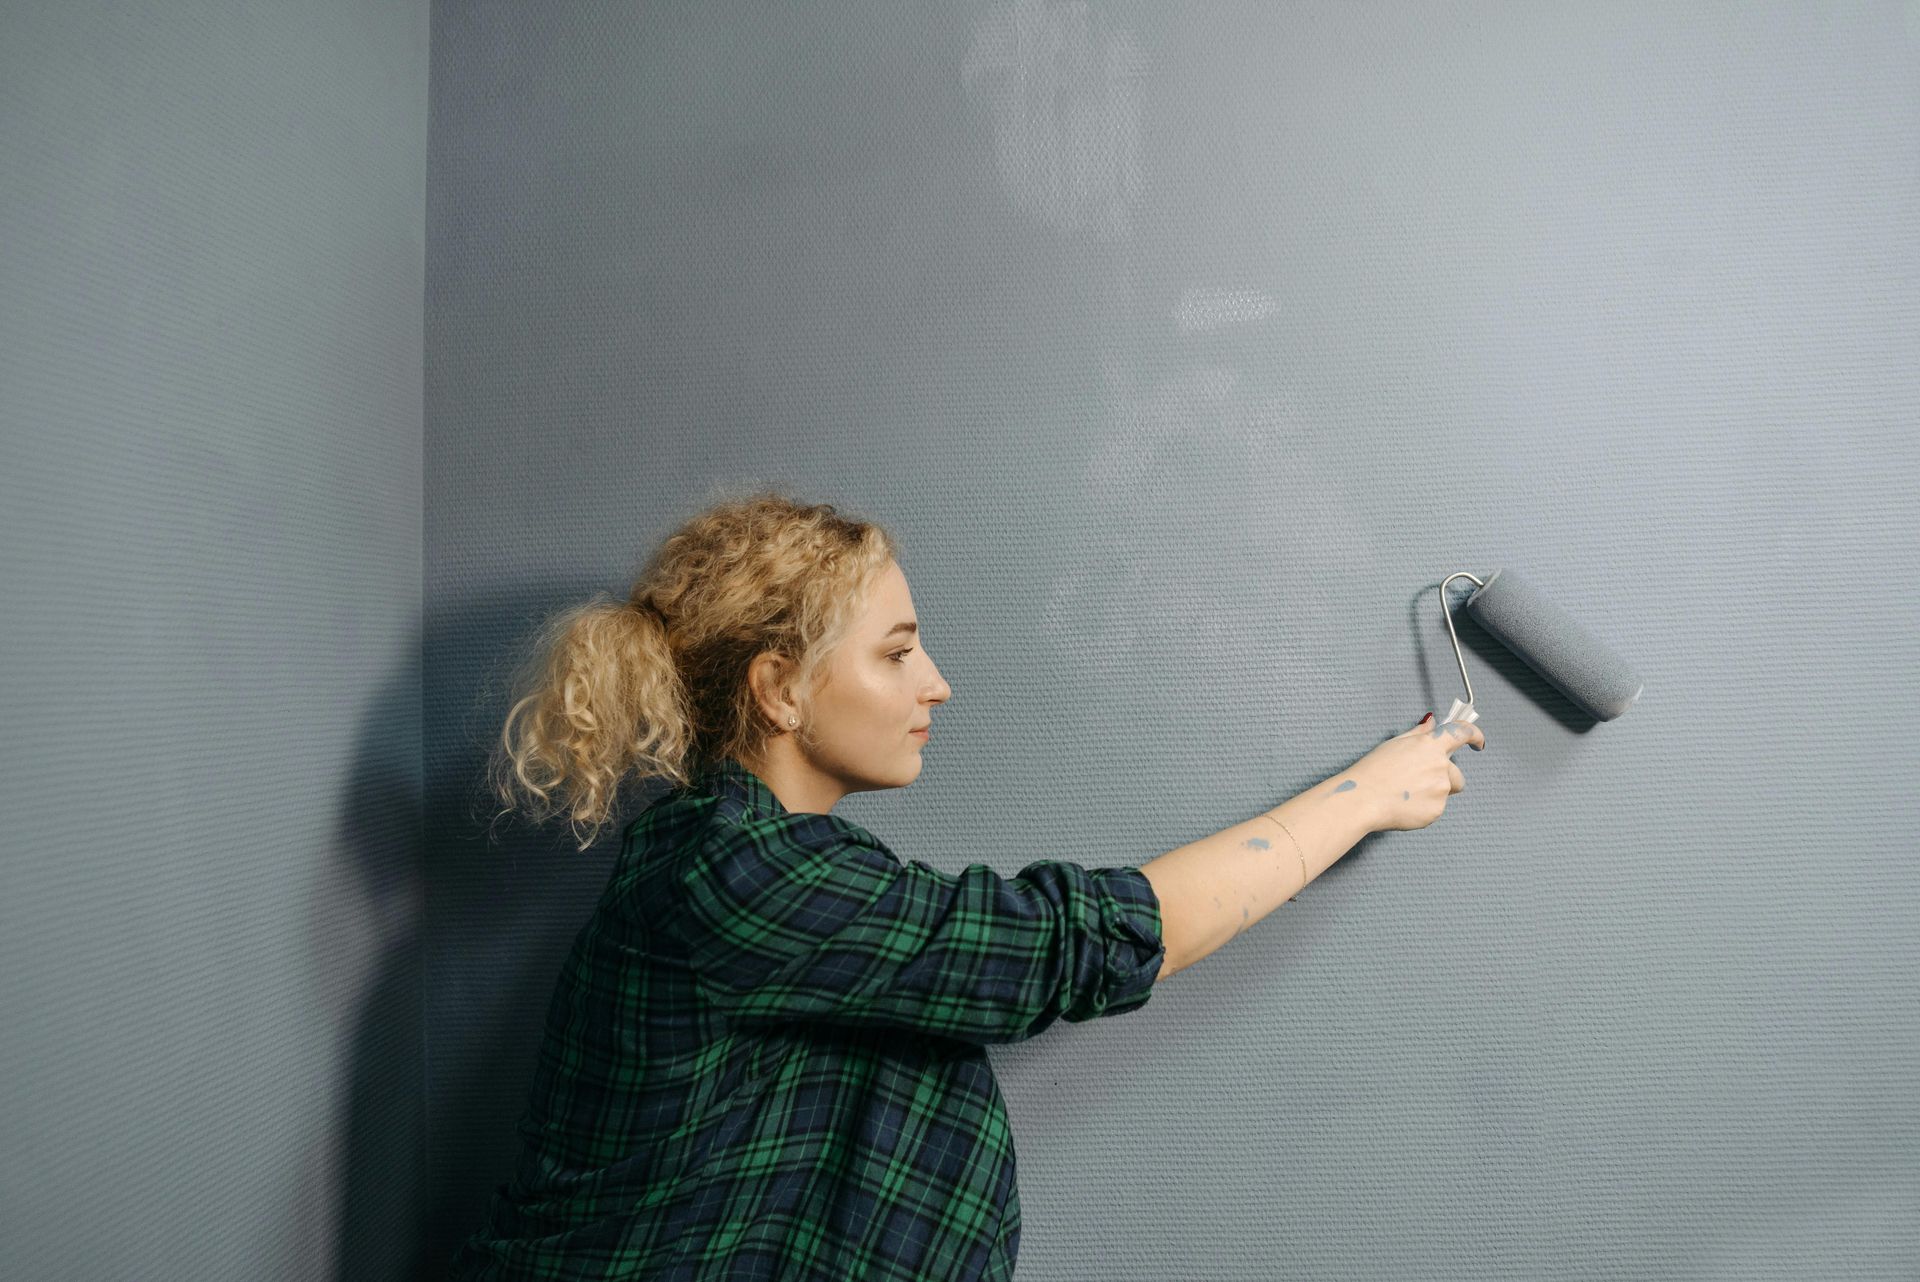
Preparation ensures a smooth finish and helps the paint adhere, resulting in a professional-looking result. Here’s a step-by-step guide on how to prepare your walls for painting.

1. Clear the Area

Start by removing as much furniture and décor from the room as possible. This will give you ample space to work and protect your belongings from paint splashes and dust. If you cannot move larger items, centre them in the room and cover them with drop cloths or plastic sheeting.


2. Clean the Walls

Dust and grime can prevent paint from adhering properly, so it’s vital to start with clean surfaces. Use a sponge or cloth with warm, soapy water to wipe down the walls. For particularly dirty areas, such as kitchens or hallways, a mixture of vinegar and water can help remove grease and stains. Once you’ve cleaned the walls, rinse them with clean water and allow them to dry completely.


3. Repair Any Damage

Inspect your walls for any damage, such as holes, cracks, or dents. Use a filler or patching compound to repair these imperfections. Apply the filler with a putty knife, smoothing it out to match the wall surface. Once dry, sand the repaired areas smoothly with fine-grit sandpaper to create an even surface. Remember to wear a dust mask during this process to avoid inhaling dust particles.


4. Sand the Walls

In addition to repairing damage, it’s a good idea to lightly sand the entire wall, especially if it has previously been painted. Sanding helps create a rough surface for the new paint to adhere to, which can improve durability. Use fine-grit sandpaper (220 grit) and a sanding block or a pole sander for larger areas. Be sure to wipe down the walls again with a damp cloth after sanding to remove any dust.


5. Prime the Walls

Priming your walls is an important step, especially if you’re making a significant colour change or painting over a darker shade. A good primer will enhance paint adhesion, provide a uniform base, and help cover imperfections. Apply the primer with a roller for larger areas and a brush for edges and corners. Allow the primer to dry as per the manufacturer’s instructions before proceeding to paint.


6. Protect the Surrounding Areas

To avoid overspray or accidental paint marks, it’s important to protect areas you don’t want to paint. Use painter's tape to mask off edges, baseboards, window frames, and door frames. Make sure the tape is pressed down firmly to prevent any paint from seeping underneath. You can also lay down drop cloths on the floor to catch any drips or spills.


7. Gather Your Supplies

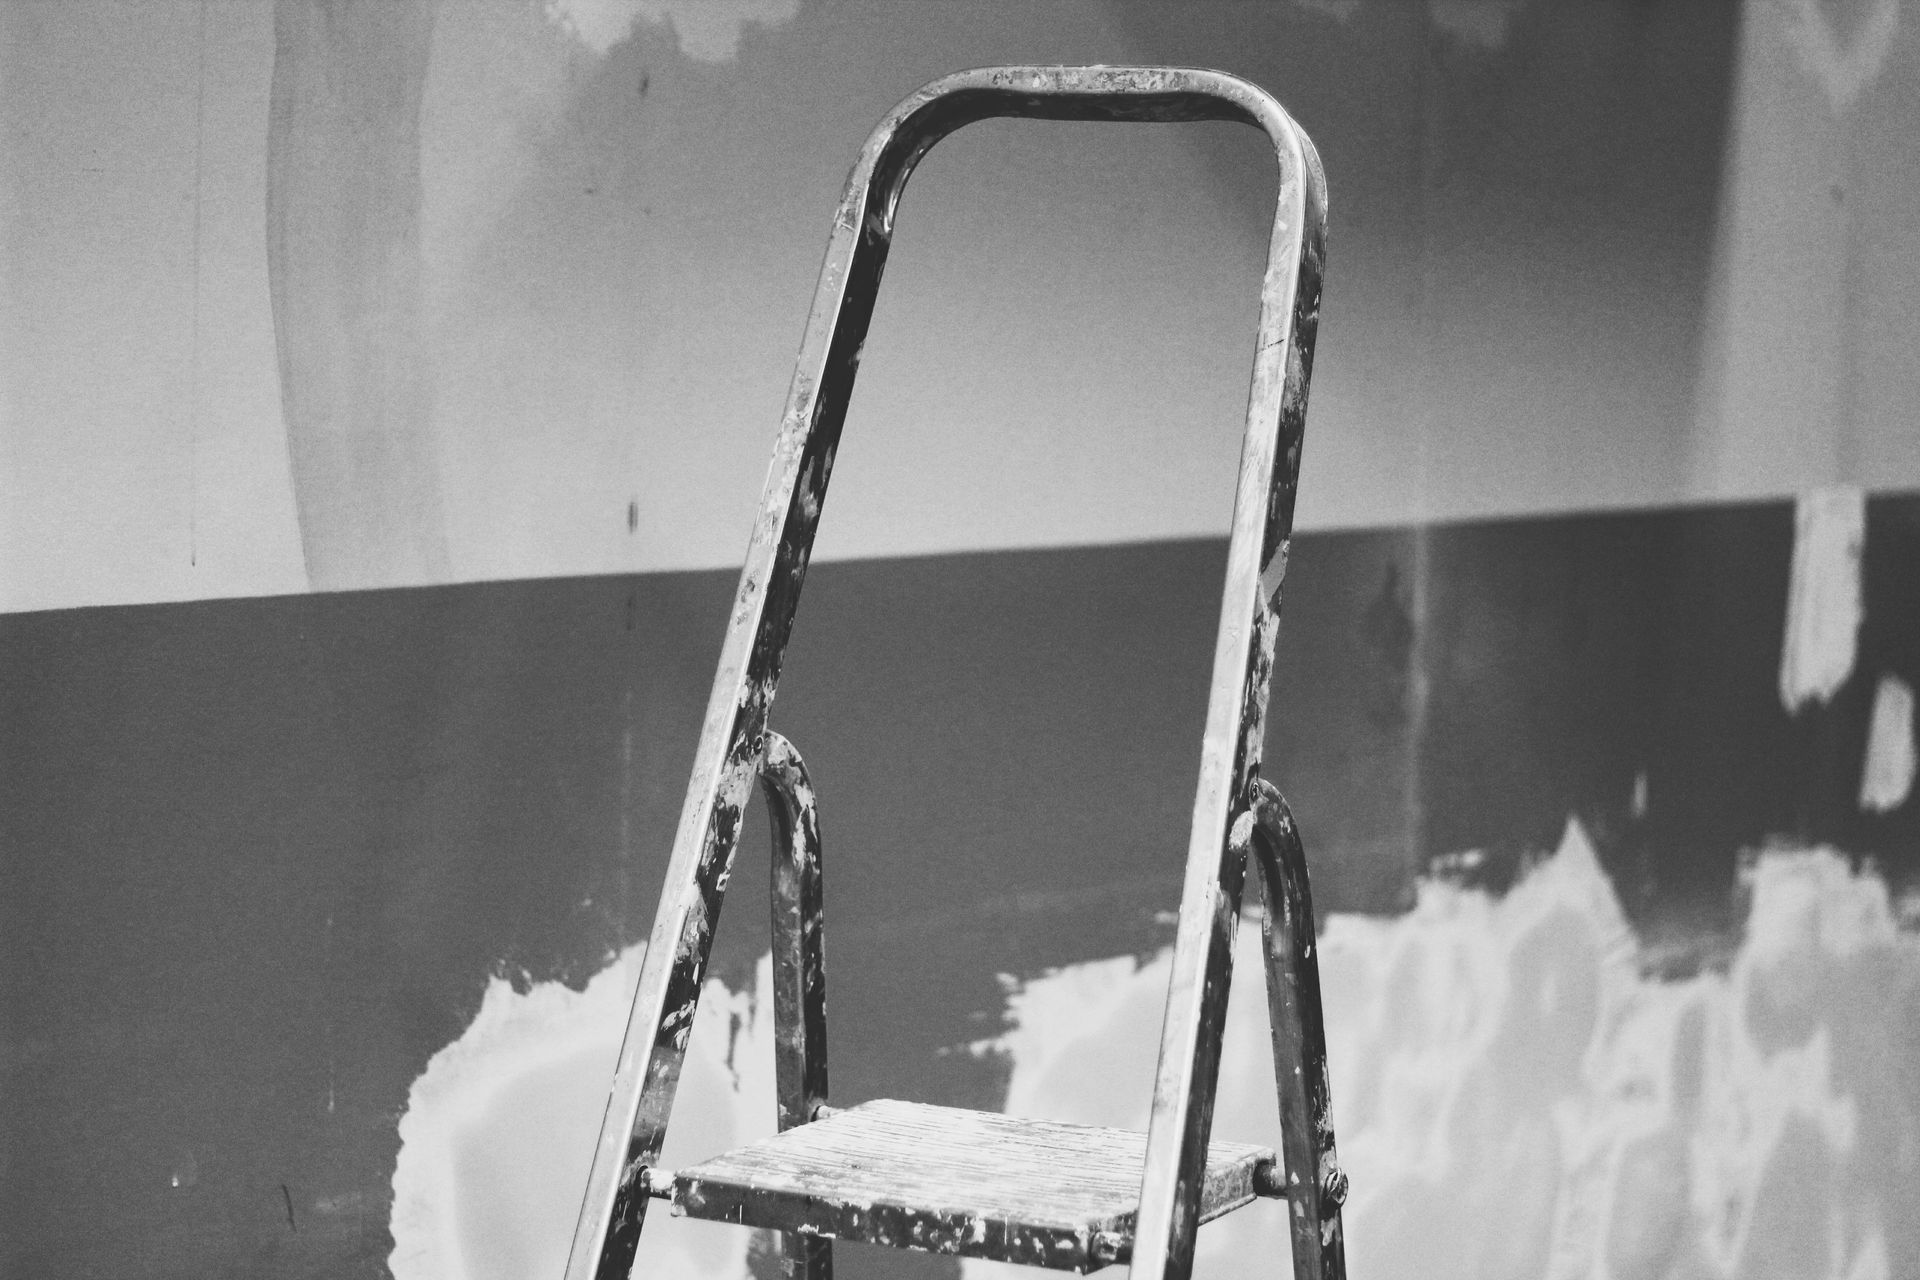
Before you start painting, make sure you have all the necessary tools and supplies at hand. This includes your chosen paint, brushes, rollers, a paint tray, a step ladder for reaching higher areas, and any other tools you may need. Organising your materials beforehand will help the painting process go smoothly.


Preparing your walls properly is the key to achieving a flawless paint finish that you can enjoy for years to come. By taking the time to clean, repair, sand, prime, and protect your surfaces, you’ll set the stage for a successful painting project. With your walls prepped and ready, you can move forward confidently, knowing that you’re on your way to transforming your space with beautiful, fresh paint. Happy painting!


Bath Decorating
Corsham Decorating
Chippenham Decorating
By Nicki Short January 28, 2025
When it comes to decorating your home, colour is one of the most powerful tools at your disposal. The colours you choose can profoundly affect the mood and ambience of your living spaces, influencing how you feel in each room.
Choosing a lamp
By Nicki January 3, 2025
Lighting plays a crucial role in setting the mood and functionality of any room. When selecting the right lamp, it’s important to consider various factors that will not only enhance the aesthetics of your space but also meet your practical needs. Here’s a comprehensive guide to help you choose the perfect lamp for your room. 1. Assess Your Lighting Needs Before you start shopping, consider what you want to achieve with your lamp. Are you looking for task lighting to illuminate a workspace, ambient lighting to create a warm atmosphere, or accent lighting to highlight specific features in your room? Understanding your lighting requirements will help narrow down your options. 2. Determine the Style of Your Room The lamp you choose should complement the existing décor of your room. Consider the overall style—whether it’s modern, traditional, eclectic, or minimalist—and select a lamp that fits. A sleek, contemporary lamp can enhance a modern setting, while a vintage or ornate lamp may suit a more traditional space. Pay attention to colours and materials as well; for instance, a brass lamp can add a touch of elegance to a classic room, while a bold, coloured lamp can serve as a statement piece in a contemporary setting. 3. Consider Size and Scale The size of the lamp is crucial for ensuring it fits well within the room. A large lamp may overwhelm a small space, while a tiny lamp might get lost in a large room. As a general rule, the height of a table lamp should be about 145 to 165 cm from the floor to the bottom of the shade when placed on a side table. For floor lamps, choose a height that complements your furniture. Remember, proportion is key to achieving harmony in your décor. 4. Choose the Right Shade The lampshade is not only a vital element of design but also affects the quality of light emitted. Shades come in various materials, colours, and shapes. A translucent shade can create a soft, diffused glow, while an opaque shade will provide more focused light. Consider the ambience you wish to create and how different shades can influence the room’s overall mood. 5. Matching Lamp Types to Activities Different activities require different lighting solutions. For reading or working, select lamps with adjustable brightness or directed light, such as a swing-arm floor lamp. For general lighting, consider using a lamp with a wider shade that distributes light evenly, providing a warm and inviting glow. Ensure that your chosen lamp suits its intended use. 6. Consider Bulb Options The type of light bulb you use can dramatically affect the ambience of your room. LED bulbs are energy-efficient and long-lasting, while incandescent bulbs provide a warm, traditional glow. Consider dimmable bulbs for added flexibility; they allow you to adjust the brightness based on the time of day and the mood you want to create. 7. Placement Matters Finally, think about where you will place your lamp. Each room has specific requirements for lighting placement. For instance, bedside lamps should be easily accessible and within reach for convenience, while floor lamps can be strategically placed to illuminate darker corners. Aim for symmetry in your arrangements for a balanced look, and ensure that the lamp doesn’t obstruct pathways or furniture.  Conclusion Choosing the right lamp for your room is a thoughtful process that takes into consideration your lighting needs, style preferences, and the practical use of space. By assessing these factors, you can select a lamp that not only enhances your interior décor but also creates a comfortable and inviting atmosphere. Whether you’re revamping a single room or decorating your entire home, remember that the right lighting can make all the difference. Happy decorating!
How to choose a color for living room
By Nicki January 3, 2025
The living room is often considered the heart of the home—a space for relaxation, entertainment, and gathering with loved ones. Choosing the right colour scheme for this important room can set the mood and create a welcoming environment. With so many options available, it can be overwhelming to decide on the perfect palette. Here’s a step-by-step guide to help you choose the ideal colour scheme for your living room.
Show More